Oasis Select
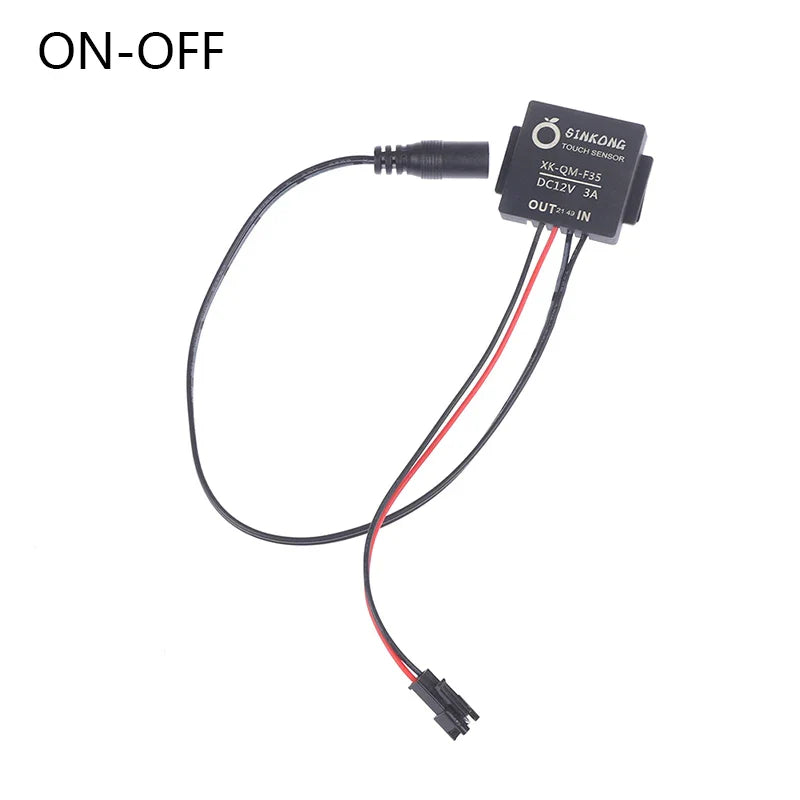
DC 12V 3A Touch Sensor Switch for LED Bathroom Mirror Light
DC 12V 3A Touch Sensor Switch for LED Bathroom Mirror Light
Couldn't load pickup availability
DC 12V 3A Capacitive Touch Sensor Switch for LED Mirror Lights
Upgrade your bathroom mirror or vanity lighting with this sleek DC 12V Capacitive Touch Sensor Switch. Designed for seamless integration behind non-metallic surfaces — glass, acrylic, plastic, or ceramic — this intelligent switch lets you control your LED mirror light with a simple touch. No exposed buttons, no clutter — just a smooth, modern interaction every time.
Whether you're setting the mood with warm tones, cool white, or a blend of both, the dual-color dimming function gives you full control over your lighting environment. Made in Mainland China.
Key Features
- Capacitive Touch Technology: Responds through non-metallic media up to 5mm thick — glass, acrylic, plastic, and ceramic all supported
- Dual-Color Dimming (A-B-AB-OFF): Toggle between warm (A), cool (B), mixed (AB), or off for complete lighting customization
- Stepless Dimming (ON-OFF): Smoothly adjust brightness to your preferred level
- Single Key, Double Control: One touch point manages both lighting channels with ease
- Stable & Reliable: 3A load current, 36W load power, 10mA standby current — efficient and long-lasting
- Versatile Application: Works with desk lamps, clip lamps, book lamps, aromatherapy lamps, air purifiers, electronic photo frames, automotive systems, KTV ordering systems, and more
- Easy Installation: Fits via card-slot design, hot-melt adhesive, or double-sided tape — no specialist tools required
Specifications
| Input Voltage | DC 12V |
| Output Voltage | DC 12V |
| Load Current | 3A |
| Load Power | 36W |
| Standby Current | 10mA |
| Sensing Range | 5mm lens (capacitive) |
| Material | PVC |
| Scope | DC / Constant Voltage / Battery Powered |
| Country of Origin | Made in Mainland China |
Installation Instructions
- Ensure the isolation medium (glass, acrylic, etc.) and the touch surface are tightly combined with no air gap between them.
- Choose your preferred mounting method: card-slot design, hot-melt adhesive, or double-sided tape.
- Power on and wait 3 seconds for the sensor to initialize before use.
- For AC power sources, a rectifier stack must be added externally.
What's in the Box
- 1 × Mirror Light Touch Sensor Switch (DC 12V, 3A)
Note: Manual measurement may result in a 2–3% dimensional variance. Slight color differences may occur due to screen and lighting conditions.
Related Products You May Like
- 1-Channel SCR Solid State Relay Module DC3-24V 40A Optocoupler
- 1.8M DisplayPort to HDMI Cable 4K – DP Adapter for PC & TV
For further guidance on electrical safety in home environments, refer to the U.S. Consumer Product Safety Commission – Electrical Safety.
Learn more: Light switch
Frequently Asked Questions
Q: Can this touch sensor switch work through glass or acrylic mirror surfaces?
A: Yes! This capacitive touch sensor switch is specifically designed to operate through non-metallic media including glass, acrylic, plastic, and ceramic — up to 5mm thick. Simply mount it flush behind the surface with no air gaps for reliable, responsive performance.
Q: Does this switch support two-color LED lighting control?
A: Absolutely. The switch supports A-B-AB-OFF dual-color stepless dimming. You can toggle between warm white (A), cool white (B), both combined (AB), or turn it fully off — giving you complete control over your mirror lighting ambiance.
Q: Is this switch compatible with AC power?
A: This switch is designed for DC 12V constant voltage applications such as battery-powered systems. For use with an AC mains supply, you will need to add an external rectifier stack to convert AC to the required DC input before connecting to this sensor switch.
Q: How do I install the touch sensor switch?
A: There are three recommended installation methods: (1) Use the card-slot design on the housing to clip the sensor securely in place; (2) Apply hot-melt adhesive to bond the sensor tightly to the shell; or (3) Use double-sided tape to fix the sensor to the interior of the casing. After installation, power on and wait 3 seconds for initialization before normal operation.